Recycled Milk Carton Chapels for Easter!

These fantastic milk carton Easter chapels, inspired by Mercer Mayer's Happy Easter Little Critter, provide a great opportunity to recycle some of those old milk cartons and talk to your kiddos about the true meaning of Easter! While the book does not share the story of Easter, instead focusing on various holiday family traditions, the content of the book does provide a great segue for talking about the cross and why we celebrate this holy day!
We found this amazing craft over at Almost Unschoolers and thought it would make a wonderful addition to your school, Sunday school, or home Easter plans! There are a lot of things going on in this project, so it might be fun to have your kiddos work in pairs on this one!
Materials
recycled milk carton
glue stick
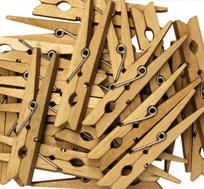
clothespin
pen
exacto knife (or something similar)
white craft paint
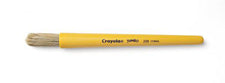
paintbrush
clear contact paper
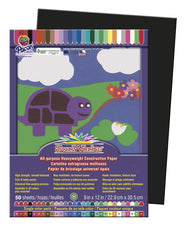
black construction paper
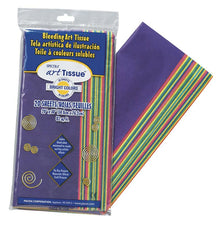
tissue paper in assorted colors
craft sticks
finger lights (optional)
Creating the Milk Carton Chapels
Begin by gluing the tops of the milk cartons closed. [NOTE: Clipping a clothespin to the freshly glued flap for a short time is a great way to make sure the glue sets!]

Use card stock to create a template for the church windows. Trace the template to create windows in the appropriate places and use a pen to mark out the location of the doors.

Use an exacto knife (or similar cutting instrument) to cut out the windows and doorway. [NOTE: Leaving the bottom of the carton intact creates more stability!]

Remove the clothespin and add a coat of white paint to the milk carton. Set aside to dry.

While the carton dries, set about creating the stained glass windows for the chapel. Using the previously created window template as a guide, fashion and cut a design from black construction paper (in this case, a simple cross was chosen), and cut or tear small pieces of assorted colors of art tissue paper. To assemble the windows, lay out small pieces of clear contact paper sticky side up, then carefully stick the construction paper design to the contact paper and fill in the space around the design with the pieces of colored tissue paper. Place a second piece of contact paper on top of the design sticky side down, 'sandwiching' the design between, and trim around the edges to create the window shape.

Glue the stained glass windows to the inside of the dried carton and add a craft stick cross to the front of the chapel.

As a final touch, add finger lights inside the chapel, if desired!

A lovely craft to go along with a lovely holiday reading selection! Be sure to visit Almost Unschoolers for any directions we might have missed and, while you're there, be sure to check out all of the other fun things this crafty homeschooling family is up to!