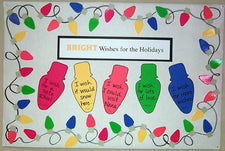
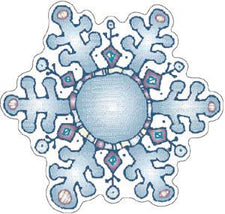
How to Make a Paper Snowflake Winter Bulletin Board Tutorial

Looking for season-worthy decorations that will also provide classroom fun in the months to follow? Try this 3D snowflake tutorial designed by Natalie, a Classroom Displays group member on Flickr. Best used for upper-elementary students and beyond, set this display up in the art center and it will inspire creativity all season long. [NOTE: You might also consider changing the tutorial every two weeks or so - inviting students to try new types of snowflakes and other winter crafts by following directions!]
Snowflake Tutorial Display
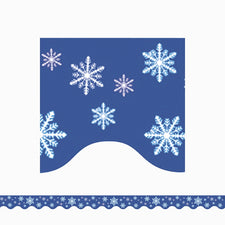
- Background: Dark blue background paper.
- Title: "Make Your Own ______________ (i.e. 3D paper snowflake, ink blot penguin, etc.)!" - The title will change with each self-directed art project you invite your students to make.
- Border: Winter-themed trimmer or complimentary solid color border.
- Decoration: Complete each project, using a camera to capture each step in the process. Print each picture onto 5" x 7" (or larger) photo paper and mount them onto colored card stock or construction paper. Under each photo, script or use word processing software to print a simple explanation for each part of the project. Number each step and mount to the bulletin board in sequence. Add several project examples around the board as a visual. For example tutorials on making 3D paper snowflakes (like those on the board!) visit WikiHow or Perspicacious.org for instructions, pictures, and even a video!