Paint Brush Ornaments - Craft for Kids & Great DIY Gift Idea!

Do you have a 'go to' parent gift for your students to make during the holidays? If you don't, or if you simply want to try something new this year, check out these awesome paint brush ornaments created by Lori over at Mud Pie Studio! Super cute, right?!
Materials
inexpensive paint brushes from the hardware store
painter's tape
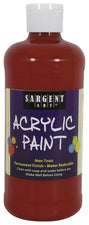
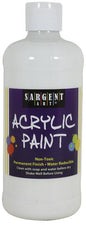
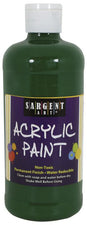
acrylic paint in assorted colors
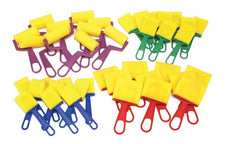
foam kids paint brushes
spray paint in assorted colors
paint pens in assorted colors
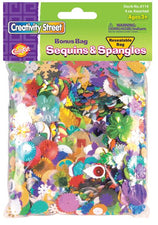
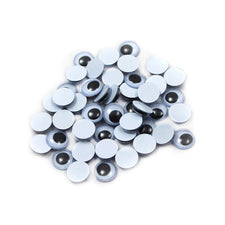
craft embellishments
low temp glue gun
holiday/patterned ribbon
Creating the Ornaments
These will take a bit more time and effort, but they're worth it - we promise! The first step is to select your design. Lori created three variations - a snowman, a reindeer, and a Santa themed brush - but for the purpose of purchasing supplies and doing the craft with twenty-some student crafters, we highly recommend selecting one design for everyone to do!


{Step One}: Use painter's tape to tape off the metal part of the brush as well as the bristles. Armed with shallow dishes of paint and foam paint brushes, have students paint the wooden handle of the brush. Set aside to dry.

{Step Two}: This step will be completed by an adult after hours. Once the brush handles are dry, use painter's tape to tape off the newly painted wooden handles and the bristles, leaving the metal part exposed. Use spray paint to paint the metal, then set aside to dry.
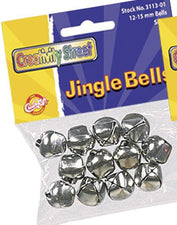
{Step Three}: With the spray paint fully dry, it's time to start decorating! Fuzzy chenille stems, spangles/gems, paint pens, jingle bells - the supply list will depend on the design you choose! A few notes on assembly that might help keep the craft moving when working with younger crafters;
- Set out all of the embellishments on a table.
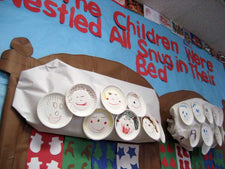
- Provide students with a paper plate already labeled with their name (and also containing their painted brush) and invite them to visit the table in small groups to select their embellishments. [They, of course, should be putting the embellishments on their paper plates!] Once they've selected all of their decor, have your students drop off their paper plates at the 'gluing station'. The paper plates stack easily to save room!
- Call students up to the gluing station one at a time. There they can tell you where they'd like all of the embellishments and an adult can do all of the gluing. The paint brushes can then be set back on the plates to dry. [NOTE: While students are visiting the gluing table, their classmates can be working on center work, a quite time activity, etc.]
It's also good to note that older crafters can do their own gluing!
{Step Four}: Tie on a piece of ribbon to the fully dry brushes and - voila!

For the original post of this awesome ornament craft and lots of other neat ideas, be sure to visi Mud Pie Studio!!